
Are you looking for some educational but fun ways to spend an afternoon at home with the kids? Spending time together is so important, and it is easy to make it educational too. Children love science experiments, from the thrill of the unexpected to the challenge of explaining what has happened. Check out these five science experiments to do at home with kids using simple items you will find around the home.
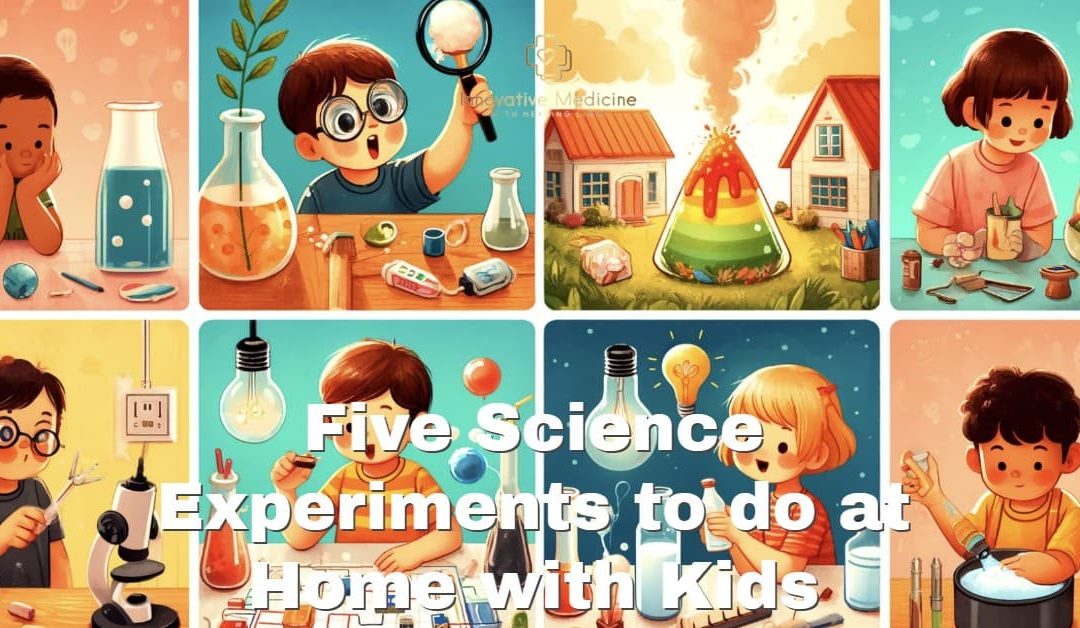
Five Science Experiments to do at Home with Kids
Experiment 1 – The Lava Lamp
This is a very simple experiment that gives a wonderful lava lamp effect, with blobs of color rising and falling as the various ingredients react. This is a good option for families with children of different ages; younger children will be excited by the colorful movement, while older children will be intrigued by the explanation of this scientific experiment.
Equipment
- 1 x clear plastic bottle or large glass
- Oil – mineral oil, baby oil, or vegetable oil
- Effervescent tablets – any fizzing tablet will work – alka seltzer or vitamin tablets
- Liquid food coloring – any color
- Water
Method
- Fill the bottle ¾ full of water, then fill the remaining ¼ with oil. Watch as the oil and water separate and the oil floats on top.
- Add 2 or 3 drops of liquid food coloring, watch how the drops sink to the bottom, and color the water.
- Add half an alka seltzer or vitamin tablet, and watch as the lava lamp fizzes into action!
- When the reaction slows down, you can add another piece of fizzing tablet.
Lesson
The lava lamp science experiment is explained by the principle of density. Density is all about how compact something is or how much space it takes up. Water is denser than oil, so this means the oil floats to the top. The food coloring is also denser than oil, so it slowly sinks down to mix with the water. Adding a fizzing tablet to the mix releases bubbles of gas. The gas is less dense than the oil and the water, so the bubbles rise up, taking some colorful water with them. This water sinks back down through the oil when the gas escapes, which is why we see blobs going up and down.
Experiment 2 – Creating Crystals
Epsom salts are used for this rapid crystal formation project; they form lovely long needle-like crystals that should last well for weeks if kept dry and undisturbed. A great science experiment project for curious minds of all ages.
Equipment
- ½ cup hot water
- ½ cup Epsom salts
- Liquid food coloring (color of your choice)
- Bowl
- Spoon
- Plate
Method
- Stir the Epsom salt and hot water together in the bowl until the Epsom salt is completely dissolved.
- Add two drops of liquid food coloring into the mixture while still hot, and stir well.
- Set the uncovered bowl carefully into the refrigerator.
- Check on the mix after an hour and then every half hour. You should see crystals forming in the bottom of the bowl after 3 or 4 hours.
- When your crystals get large enough, lift them out carefully using a spoon and place them on the plate so you can examine them.
Lesson
The Epsom salt dissolves in the hot water. This means that the particles of salt are dispersed throughout the water. When you cool the mixture down, it becomes denser, and the dissolved crystals run into one another and form long crystals. The crystals form in regular patterns, so if you have a magnifying glass, you can check out the formation of the crystals. Drawing what you can see through the magnifying glass is an excellent extension to this fun science experiment.
Experiment 3 – Invisible Ink
Write secret messages that only appear when exposed to heat with this simple yet effective science experiment. Perfect for some rainy afternoon fun with the kids, but ensure adult supervision if using a candle or hot light bulb.
Equipment
- 1x lemon
- Water
- Bowl
- Paintbrush/cotton bud (q tip)
- Lamp with light bulb
Method
- Squeeze the lemon juice into a bowl and add a tablespoon of water, mixing the two liquids well.
- Use a paintbrush or cotton bud (q tip) to write a secret message. When the paper dries, the message should be invisible.
- To view the secret message, hold the paper to a source of heat by holding it close to a lamp. Do not let the paper touch the bulb.
Lesson
Lemon juice is clear on a white page, but it oxidizes (reacts to oxygen) and turns a darker color when it gets warm. You can use this technique to send hidden messages to friends and family.
Experiment 4 – Floaty Drawings

This is one of the most fun science experiments you can do at home with children. And all it takes is a dry erase marker and a little bit of practice. Children will be amazed as they watch their drawings float up and start to move around within seconds of beginning this awesome science experiment.
Equipment
- A dry-erase marker (for use on whiteboards)
- Glass dish or glass plate
- Jug of water
Method
- Draw a simple stick figure on the surface of the glass dish using the dry-erase marker.
- Slowly and gently pour some water onto the surface and watch as the drawing floats up.
- Move the water around gently and watch the figure dance.
Lesson
This science experiment works because the ink in the dry-erase marker is made up of pigment (color) and alcohol. When you add the water, the alcohol dissolves, and all that is left is the solid pigment, which floats. The smooth glass surface has very little friction, which means that the drawing can just slide off. You might have to experiment a little getting the drawing just right so that the science experiment works well; do thinner or thicker lines work best? Is it better with cold water or slightly warm water?
Experiment 5 – Colorful Cabbages
This is a great science experiment to do at home with kids to show them how plants work. As the color moves along the plant, children can see for themselves how plants take up water. Fun, colorful, and easy to do!
Equipment
- Tall water glasses
- Cabbage leaf/celery leaf/white flower (or try all three and compare results)
- Water
- Liquid food coloring (in your choice of colors)
Method
- Add a few drops of food coloring to half a glass of water.
- Place a leaf of cabbage/stick of celery/flower into the glass
- In a few hours, you will see the color travel through the leaf, and in time, it can even reach the petals of a flower.
Lesson
The tiny tubes that run along cabbage leaves and celery are known as xylem. These pull water and nutrients up into the plant. Adding color to the water allows you to see this as it happens. Experiment with different plants and colors in this fun science experiment.